
Windows has been the most popular platform for video gamers of all kinds for just over two decades. In it’s early days, Internet was out of the reach of the huge majority of users due to it’s high cost as well as the lack of advancements in the technology sector.
Therefore, multiplayer games didn’t enjoy even a shade of the popularity levels of what they are at the moment. But the past decade has seen more and more people being able to access the Internet, all thanks to the latest technologies in IT sector coupled with friendly policies enacted by governments worldwide. This has led to the booming of online games by leaps and bounds. Just like all other tech goodies, online gaming also brings with itself potential bugs. One such issue is the High Latency issue.

Step 1
Fix Windows 10 Latency & Speed
Reginout Download (w/ Verisign Digital Certificate)
Compatible w/ Windows 10, 8.1/8, Windows 7, Vista/XP.
By clicking to download, you agree to these Terms
See Features & Functions
What Is Network Latency?
In networking terms, latency refers to the time period it takes for one packet to reach travel one place to another over a network. High latency means it takes more time for packets to reach the destination. Therefore certain apps like video games, streaming content, video chatting might not be very user-friendly in such a scenario, thus reducing the latency is very important in order to get a better user experience.
Solutions
Solution 1: Disable How Windows Updates Are Delivered
Windows 10 uses Peer-to-peer (P2P) technology to redistribute updates among multiple computers. Even though this mechanism is quite beneficial in reducing malware attacks, it might lead to an increase in the latency. Therefore, turning it off and hence decreasing latency will lead to an improvement in connectivity of the line.
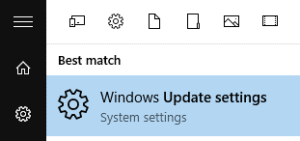
- Click on the start button to open the start menu.
- Search for Windows Update settings.
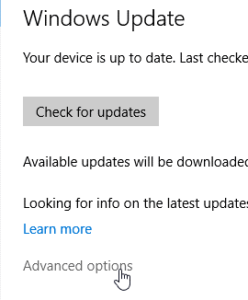
- Once you’ve opened it from the Search Results, locate Advanced options and open it.
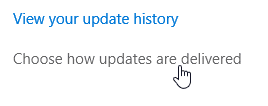
- Now click on Choose how updates are delivered.
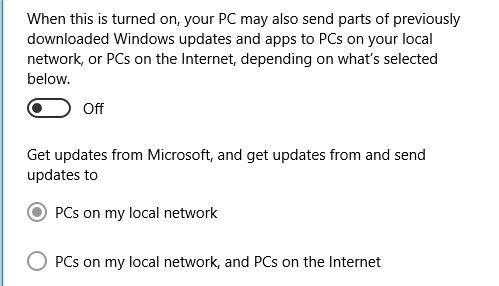
- Turn off the Peer-to-peer update delivery mechanism.

Turn off Peer-to-peer notification


Solution 2: Close Apps That Consume High Amount of Bandwidth
The logic behind this solution is pretty simple. If the bandwidth is being utilized by a background app or an unnecessary app, the user might not be able to take the full advantage of the network connection. Find it from the Task Manager and close it.
- Right-click anywhere on the taskbar to open the context menu.
- Locate Task Manager and open it.
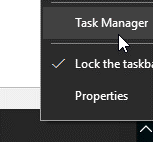
Click on Task Manager - Find the Network column from the panel, click on it until the values are in descending order.

- Find the application that consumes a high amount of bandwidth, right-click on it and select End task to close it.
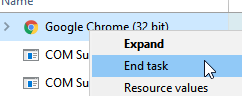
End high bandwidth consuming programs


Solution 3: Install The Latest Version of the Network Driver
- Download Driver Booster.
- Install it and open it once the setup wizard is over.
- Click on the big SCAN button to launch the search for the latest drivers for all hardware installed in your system.

Click on SCAN - Find the network adapter and click on the Update button (if available).

Update Network adapter’s driver - Restart the computer once the update is completed.

