
System and compressed memory help in the management of Random Access Memory (RAM) besides several other tasks including file compression. At times, it uses 100% of the disk, making your laptop unresponsive for several minutes. This issue is not uncommon for Windows 10 gamers. Your laptop might be running low on memory, and so you need to get additional RAM and top it up with a little customization to bring things under control.
Clean up Windows 10
ST Cleaner Download (w/ Verisign Digital Certificate).
Compatible w/ Windows 10/ 8.1/ 8/ 7/ Vista/ XP.
Disable Full Memory Diagnostic
As a default, the Task Scheduler is configured to automatically run the full memory diagnostic. You can disable this feature from its Library.
- Click the Start icon in the Taskbar.
- Click Settings.

- Type Schedule Tasks in the Search box on the upper-right corner.
- Open it from the Search Results.


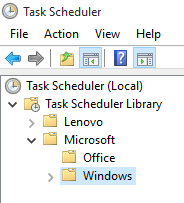
- You’ll see a new window with expandable nodes on the left panel.
- Expand the following node:
- Task Scheduler (Local) | Task Scheduler Library | Microsoft | Windows | MemoryDiagnostic

- On the right panel, you will be seeing two settings namely ProcessMemoryDiagnosticEvents and RunFullMemoryDiagnostic.

- Right-click the latter and choose Disable. If the Disable entry is “frozen” and can’t be licked, you might want to right-click it again and then choose the End option.
- Exit out of the window.

Check for RAM Issues
Troubleshoot laptop memory problems using the built-in diagnostic tool in Windows 10. Save your unsaved work before initiating the process as it requires a system reboot.
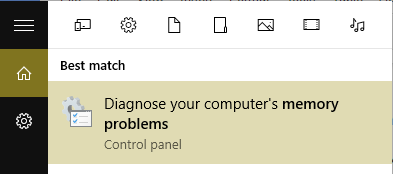
- Press Windows Key + X; choose Search option.
- Type Memory Problems and open Diagnose your computer’s memory problems from the Search Results.

- Select Restart now and check for problems.
- Your laptop will restart and conduct several memory tests. If required, you may have to replace the Random Access Memory (RAM).
Restore BIOS Defaults
BIOS Settings control the basic functioning of your laptop. BIOS Setup deals with the hardware and device settings that can affect your laptop’s functioning. Windows 10 compressed memory issue may occur if the BIOS settings are incorrectly changed. Tune up your BIOS configurations and restore system defaults.
- Restart your laptop and press F2 or Delete key repeatedly until the BIOS Configuration screen appears. The key may vary on some laptops.
- Go to the Exit menu using your keyboard arrow keys.
- Move down and select Restore default settings option.
- Press Enter to apply it.
- Use the upward arrow on your keyboard and go to Save changes and exit option. Press Enter.
- A confirmation prompt may appear. Select Yes or OK option and then finally press Enter.
Let Windows Set Appropriate Paging File Size
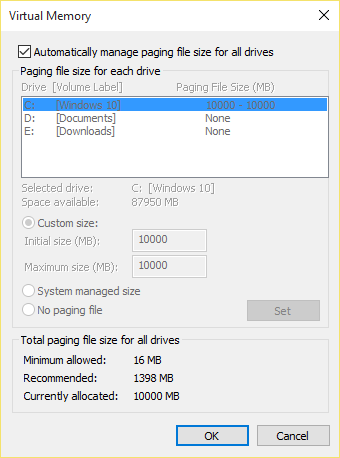
You might have changed the virtual memory settings and as a consequence might have started to experience a few problems. Let Windows determine the best paging file size for you as the existing pagefile size may be insufficient to run high resource using applications and games.
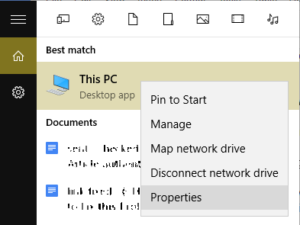
- Right-click This PC from the desktop choose Properties.
Select Properties - Click Advanced system settings link, and then Settings from the Performance category of the Advanced tab.
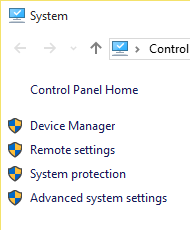
- Click the Advanced tab on the subsequent Performance Options dialog.
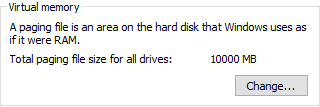
- Click on Change under Virtual Memory category.


- Select the Automatically manage paging file size for all drives check box.

- Click OK | OK | OK.
- Restart your laptop.