
The world is moving at a brisk pace. Who a few months back knew that we would be working from home and the global economy would still be running with offices shut down? It is fascinating and yet eye-opening; that we have to be prepared with all essential supplies, plus all kinds of tools (including software) that help us work from home.
ManyCam makes multiple video calling and sharing programs seamlessly on Mac computers and Windows systems a very easy job. Users can also use live graphics and filter features for streaming video. ManyCam offers both regular and lifetime licenses.
How to Record Video Conferencing Call
The video recording function of ManyCam helps capture your live stream from several linked audio and video outlets. Before you start recording, you will have to set up some functions.
Download ManyCam and Save 30% Offer Expiring Soon
Recording Settings
Open ManyCam Settings -> Recordings to apply all the settings you have chosen for the recording.
Backup, Location and Output file
You may set the title and position of the source file and enable ManyCam to always transfer an additional backup of the captured videos to a separate location on your computer. It is very easy to set up and configure a separate location where all your recordings will be backed up. However, you must know that you cannot use this setting or feature on videos that you have already recorded.
To activate this function, change the switch to next to save a copy. You will get an Add path option, click it, and choose another where you want to save the recordings.
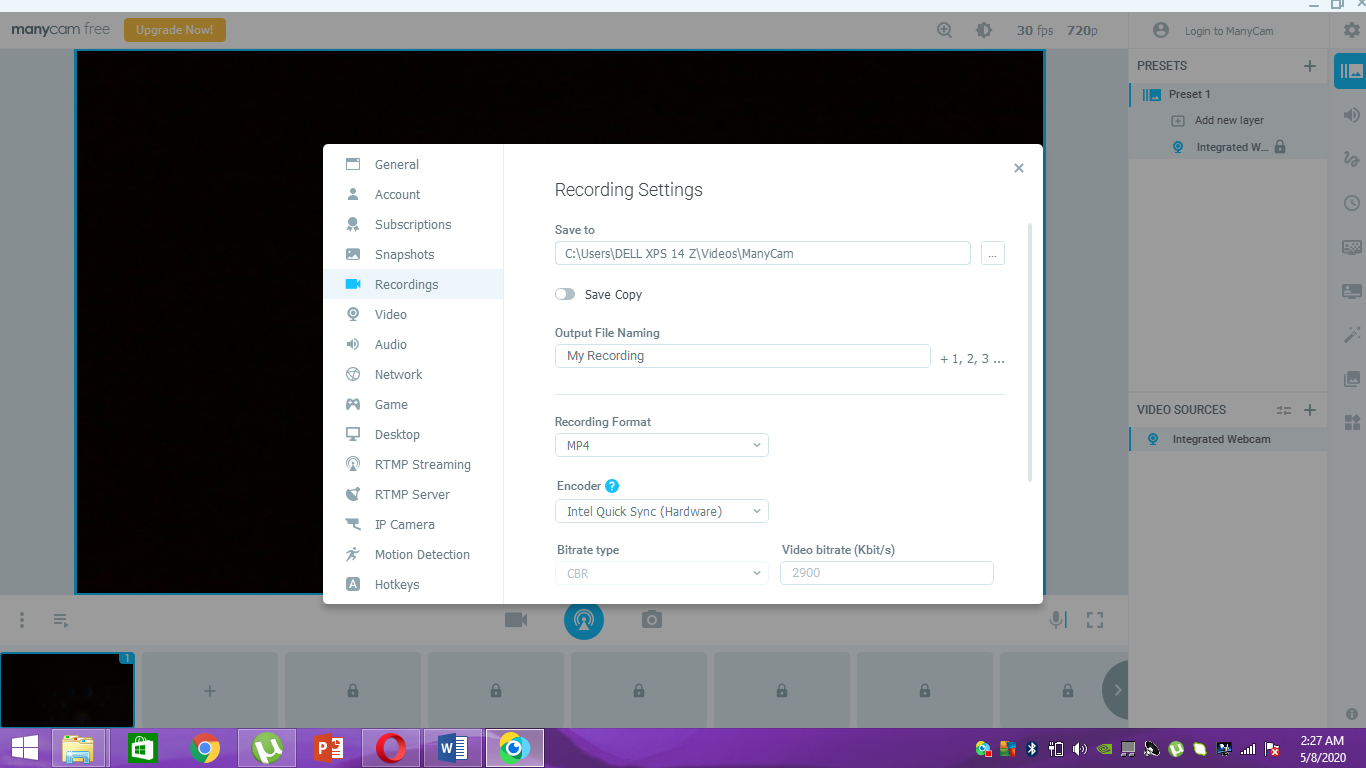
Recording Format
Did you know you can also select the recording format of your file? Now you can select the recording formats if you’re using ManyCam on Windows. ManyCam now also supports gifs that have no sound along with MOV, MKV, FLV, and MP4.
However, it is recommended that you use the MP4 format for conference video recording.
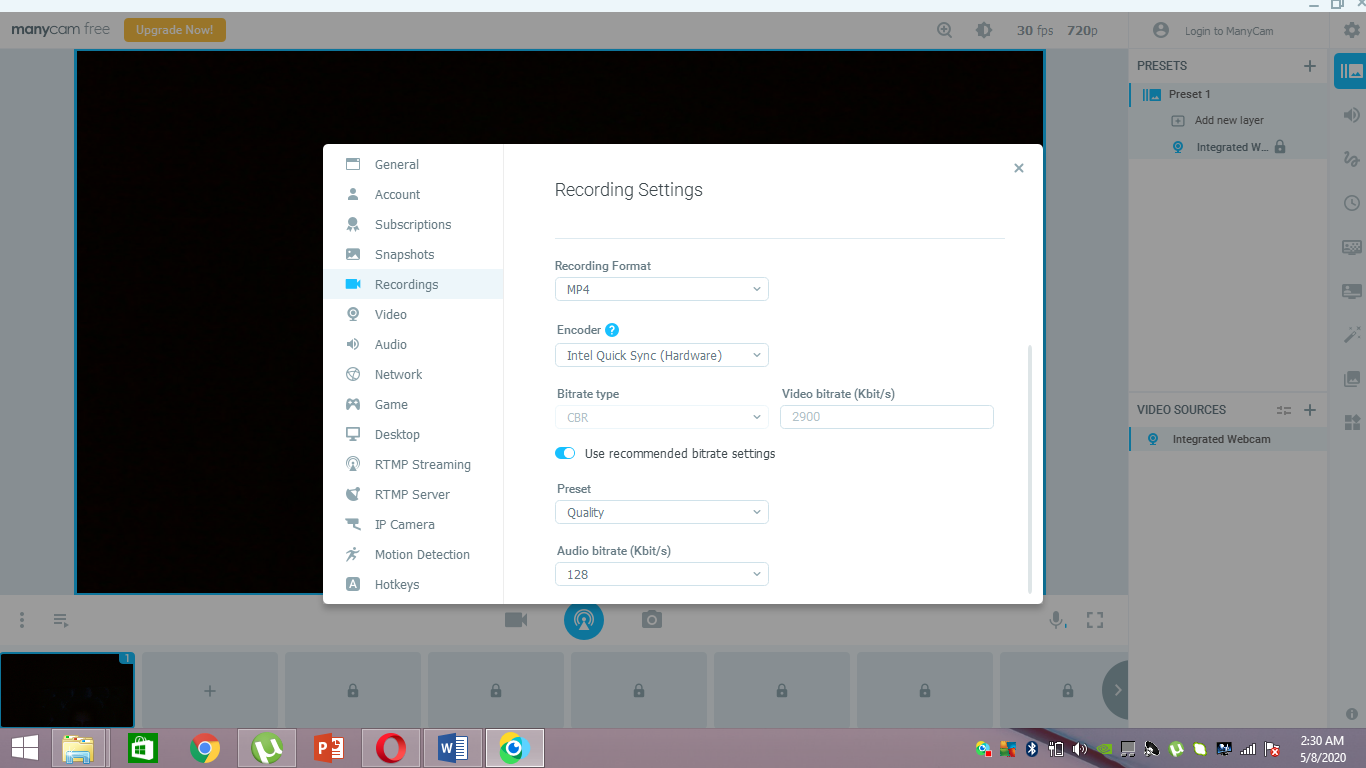
Encoder
It helps to put up a video encoder, which allows you to record conference calls on Manycam. And you know the best thing? It is built-in, and you will not need any extra software. It produces great quality. These encoders operate quickly and deliver improved performance; nevertheless, they are not generally found in those old GPUs.
Video bitrate
You can choose the bitrate type and set the required number. VBR refers to variable bitrate, implying that ManyCam uses the bitrate value instantly, ensuring that you get the final output of the greatest quality. You’ll have to configure the low and high values for this tool.
CBR refers to a fixed bitrate, which ensures that these same (fixed) number of bits would be used for each timeframe of the recording.
Audio bitrate
Its configuration allows you to adjust the audio bitrate. There will be four values usable for ManyCam: 192 Kbit/s, 160, 128, and 96. You must know that Audio will always remain 44.1 kHz in AAC stereo. A higher bitrate leads to a video recording of improved quality.
Frame Rate and Video resolution
Video resolution is the resolution output of the video recording file. You can choose the video resolution from the Video button. The popular resolutions are: 1920×1080 (1080p as FullHD) 1280×720 (720p) and 640×480 (480p).
Frames Per Second
Frames per second can be described as the frequency rate, which allows users to see for how long a frame of the video recorded will be on display. The rule of thumb is that the greater the frames per second score, the greater the final product would be.
The suggested FPS value is 30.
Now that you know how to set up the available tools, let’s find out how you can record the conference video call via Manycam:
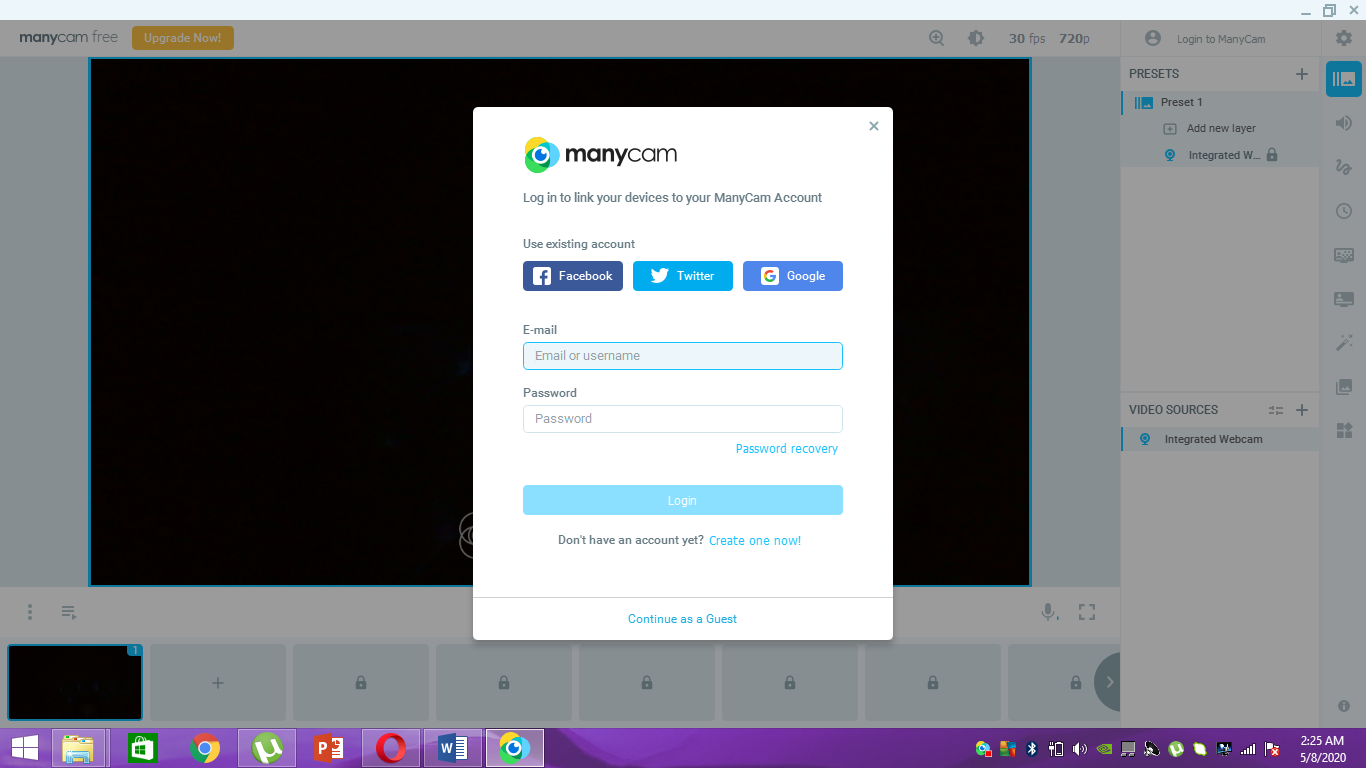
Once you have downloaded ManyCam and signed up, follow these steps.
Step 1: Recording
Click on the Record option, and you will see that your conference video call will begin recording. You will also be able to see a timer showing the duration of the video on the left-hand side. You may pause the video if you want to skip any part of the video call from being recorded. Once you want to resume again, you will be able to continue the recording exactly from where you left in the same file.
You will have to press the Stop Recording key to finish the recording session. It will transfer the stored file to the locations mentioned below:
- Windows default location: C:\Users\%username%\Videos\ManyCam
- MacOS default location: /Users/user_name/Movies/ManyCam
Step 2: ManyCam Gallery
You can find all your video recorded files in the Gallery option. However, remember that there are two albums that you cannot delete.
Users can also make their albums by tapping on the + sign and looking for photos and videos saved in your albums through using the search option. To access the captured video saved in the Album, switch to the My Recordings tab and tap on the video that you wish to see. As you click on it, the video will start to play.
ManyCam is a software that can help you in many ways in one go. What are you waiting for? Download it NOW to make your video calling experience much better.