
Back in time when Microsoft announced the impending release of a new version of it’s Windows series of operating system titled Windows 10, everyone got super excited and eagerly looked forward to the release date.
The excitement got even higher when Microsoft announced that all existing users of Windows 8/8.1/7 would be eligible for a free upgrade to Windows 10. Even though Windows 10 was made available to the general public through the Microsoft Update Center, many people couldn’t somehow get it and thus they were forced to download it through Windows Media creation toolkit. Strangely enough, this method didn’t work out for many people due to various reasons. This article discusses one of those strange “reasons” namely Something Happened? Can’t Determine Space and how to solve it.
Solutions
Solution 1: Disable The Antivirus Guard Installed in The System
Many antivirus programs, including Microsoft Security Essentials, might interfere with the ability of certain applications to perform specific functions. This doesn’t mean you should uninstall the antivirus software right away as it will surely put your system at great risk, but you can disable it temporarily and re-enable it one the affected application has performed the particular action in question.
How to disable Microsoft Security Essentials?
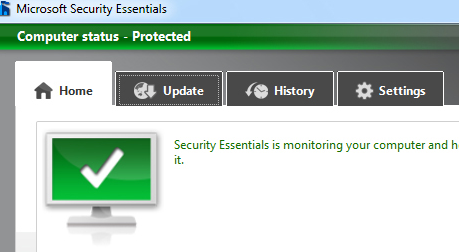
- Launch Microsoft Security Essentials from the start menu.
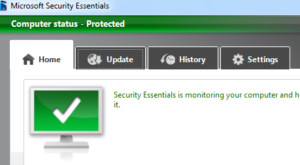
Microsoft Security Essentials User Interface - Switch to the Settings tab.
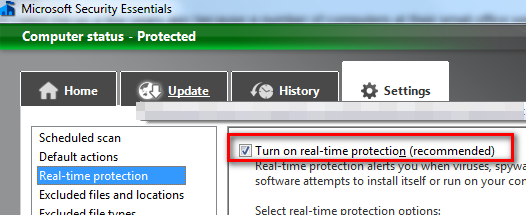
- Click Real-time protection and uncheck the Turn on real-time protection (recommended) option.
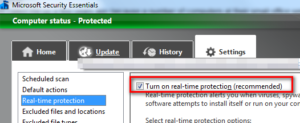
Turn on Real-Time Protection
Solution 2: Restart The System a Few Times and Try Again
If the computer is expected to restart for reasons such as when a system application or a driver is installed, the system should be manually restarted in order to launch the Media Creation Toolkit.
- Click on the start button.
- Click on the arrow next to Shut down and select Restart.
Solution 3: Use an ISO file instead of the “Media Creation Toolkit”
Microsoft’s Windows update domain provides direct links for Windows 10. These links can be used to download the ESD files which can be used once they’ve been converted to the ISO format. The whole process is totally legal and legitimate as you are still required to have a valid key of Windows 10 to make it activate.
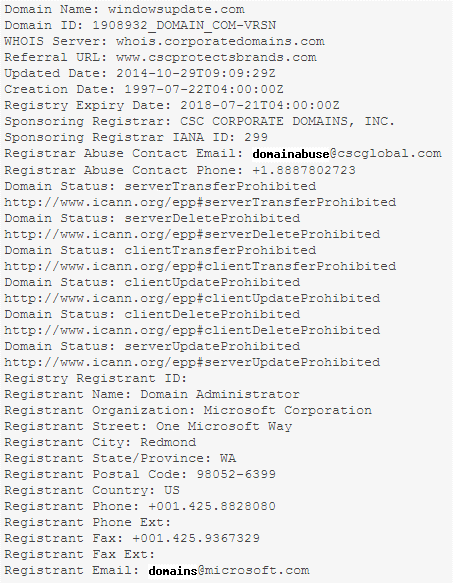
Here is the proof that the domain windowsupdate.com belongs to Microsoft Corporation.
- Visit the following website:
http://ms-vnext.net/Win10esds/urls - Pick the desired version of Windows 10 to download.
- Click to download it.
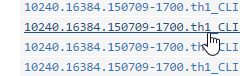
Windows 10 Pro English 64-bit:
http://b1.download.windowsupdate.com/d/updt/2015/07/10240.16384.150709-1700.th1_CLIENTPRO_RET_x64fre_en-us_9D40E15F430AB89A1EABB165ACBF40C9F07D18BB.esd
Windows 10 Pro English 32bit:
http://b1.download.windowsupdate.com/d/updt/2015/07/10240.16384.150709-1700.th1_CLIENTPRO_RET_x86fre_en-us_83D0ECEBE1CCDDE08A144A34DF656D2AF48C6B84.esd
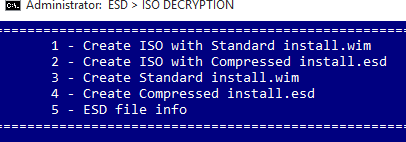
- Download the ESD to ISO decryptor:
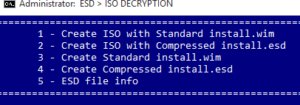
http://www.mirrorcreator.com/files/R2YOSYSZ/ - Once you’ve installed it, run the Decryptor in Admin mode by right-clicking it and then selecting Run as administrator.
- Type either 1 or 2 (although 1 is highly recommended if you used one of above links to download Windows 10)in order to enable it to convert the ESD file into an ISO one.
- Download DAEMON Tools Lite from the following location:
http://www.disk-tools.com/download/daemon - Install it and restart the system.
- Locate the Windows 10 ISO file you created in the method mentioned above. Right-click it and select Mount. (The location of the Mount option varies depending on the version of DAEMON Tools Lite as well as the mounting application).

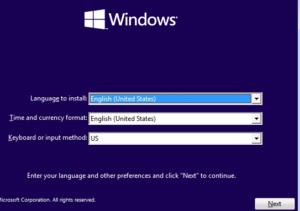
Select Mount from the Context Menu - Install Windows 10 by following the instructions in the following window.


Solution 4: Use Windows Update to get Windows 10 Instead of Media Creation Toolkit
When Windows 10 was rolled out, many people didn’t receive their copy in the beginning because the process was quite slow. Microsoft purposely implemented this mechanism to make sure they have enough time to fix the bugs they’ve been heard from the customers who had already installed Windows 10 through Microsoft Update Center. However, this does not hold true anymore. Users can easily download Windows 10 without any fuss.
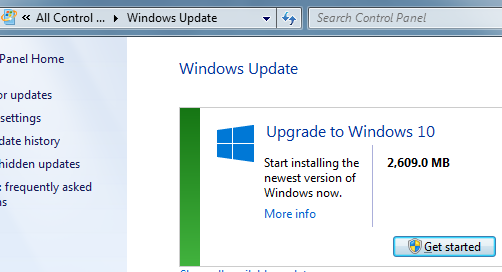
- Open Windows Update Center.
- Click on Get started to initiate the update.

Click Get Started
Solution 5: Enable Windows Recovery Partition
Certain people have reported that by turning on Windows Recovery Partition helps fix this particular problem currently under discussion.
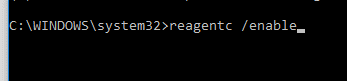
- Open Command Prompt from the start menu in Administrative mode.
- Type the following command and press Enter to execute it:
reagentc /enable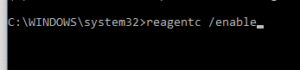
Execute the command - Now restart the system for the changes to take effect.
Solution 6: Create a Backup of the Data and Go for a Fresh Installation
If none of these methods worked for you, then this solution will surely fix your problem.
- Copy your valuable files into an external hard drive or a pen drive.
- Follow Solution 3 (see above) and instead of running the setup within the Windows 7/8.1/8, burn the ISO file into a DVD drive. Use a software like Magic Burn to do so.
http://www.magiciso.com/tutorials/miso-burnwin.htm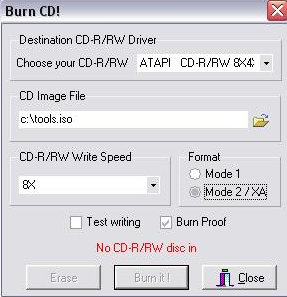
Burning a CD/ DVD - Boot into the DVD drive (Refer to the Motherboard’s manual on how to boot into an external drive).
- Click on Install and start a clean installation instead of updating.
- When it shows all the partitions that make up the hard disk as per the following screenshot, delete them one by one.
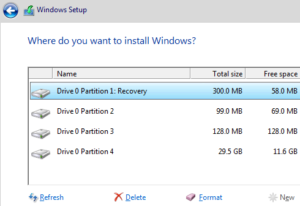
Hard Disc Partitions - Now click on New to create a new partition.
- Select one of the partitions to install Windows 10 on and click Format to format the selected partition.
- Select it again and click on Next to proceed to the next phase of installation. Now Windows 10 will be installed in your system once the installation successfully concludes.

