
Software changes are mostly a smooth transition, but sometimes they aren’t! One good example is the iPhone’s no-headphone-jack version. The confusion around it’s usage caused users to go for buying third-party connectors. The same is the case with many other software such as Windows 10.
Before you go deep into what we’re out to talk about, do you know the havoc identical or near-similar photos cause? Do you even have a slight idea of the disorganization they will lead to and the big amount of storage space they will occupy! PictureEcho will deal with them nicely. It is designed to get rid of duplicate and similar photos, and it does this job to perfection.
Clean Up Duplicate/ Similar Photos in Windows 10
PictureEcho follows Google Software Principles
You must be wondering by now ‘what’s so irritating about Windows 10?’ Well, there isn’t much that I can relate to, but one thing that bugs me about Windows 10 is their new photo application. I was quite used to the old version. Simple, classic, and logical. The new photo app is completely opposite of that. Not only is it slow, but it takes up much more space in the system, which makes viewing photos a troublesome task.
This led me to investigate ways through which I can restore Windows 10 Photo Viewer. And luckily, I’ve found one method that works.
Photo Viewer Problem in Windows 10
First, we need to understand how the problem occurs. Basically, when you upgrade from Windows 7, 8 or 8.1 to Windows 10, you will notice our favorite Windows Photo Viewer application replaced with the Photos app.
We have found a way around this issue, which is a wee bit technical. But don’t worry as we will guide you throughout the process. So Let’s get started.
Enabling Windows Photo Viewer through the Registry
Thankfully the process is not labor-oriented as someone from TenForums has already created a hack for restoring Windows Photo Viewer on Windows 10.
You will first have to create a batch file. A batch file is of the .bat extension and it alters the functions of Windows. So, be very cautious while playing with .bat files. The one we are listing below serves the purpose of restoring Windows Photo Viewer, but not many other bat files are user-friendly as eavesdroppers can use them to wipe your system’s data or to get a backdoor entry to your system. So you will have to be extremely careful in doing this.
Coming back to the topic, here is how to create a simple bat file with Notepad.
Right-click on the Desktop, point to New and select Text Document.
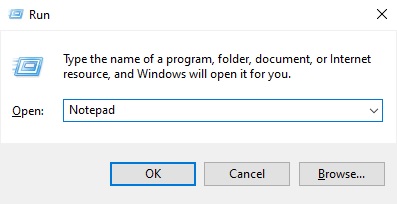
Alternatively, you can press the Windows Key + R shortcut combination to bring up the Run menu, type in Notepad and press Enter to open up a blank notepad file.
Once the text document has opened up, add the following code to it.

Now, save this file as a batch file on the desktop. To do so, simply change the extension of the file from .txt to .bat and select All Files in the Save as type dropdown menu.
Now click Save to save the file.
Editing the Registry to Restore Windows Photo Viewer
By default, Windows 10 doesn’t allow anyone to edit the Registry. For that purpose, you will need to first grant the file access to Windows Registry.
Right-click on the file and select Properties.
Select the Read-only checkbox as this will allow it to alter Windows settings. It often happens that when a file is not Read-only, it cannot alter the Windows Registry.
Now, run the file by double-clicking on it. Click Yes in the prompt.
This will alter the Registry. Once the batch function has been executed, you will get another prompt informing you about the outcome.

Now, you will need to reboot the computer because the Registry edits require a system restart for the changes to be properly applied.
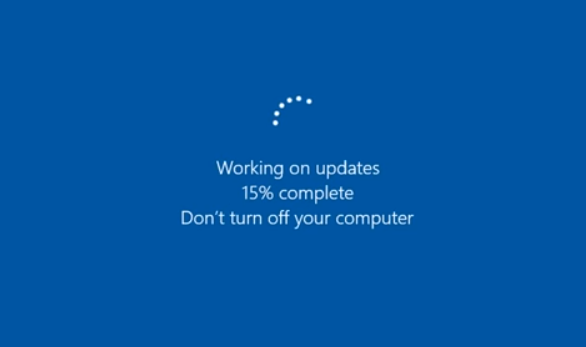
The system reboot might take a while depending on the speed of your system. In the meantime, Windows 10 will show you a screen that says the system is installing the updates you requested. Patiently wait for the whole process to be over.
Verifying the Restoration of Windows Photo Viewer
Now that your computer system has restarted, simply select an image and open it using the Open with command. To do so, right-click the image and select Open with | Choose another app.
You will now be seeing Windows Photo Viewer on the screen. Click it.
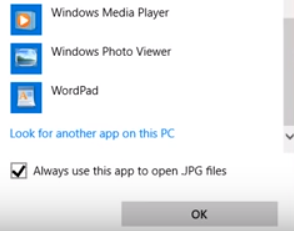
The next step is to make the Windows Photo Viewer as the default app to open your photos and picture files. To do so, simply select the checkbox for Always use this app to open JPG files and click OK.
Now if you go to the Control Panel to check the default apps (Control Panel > Apps > Default apps), you will see that the app area under the Photo viewer is currently empty.
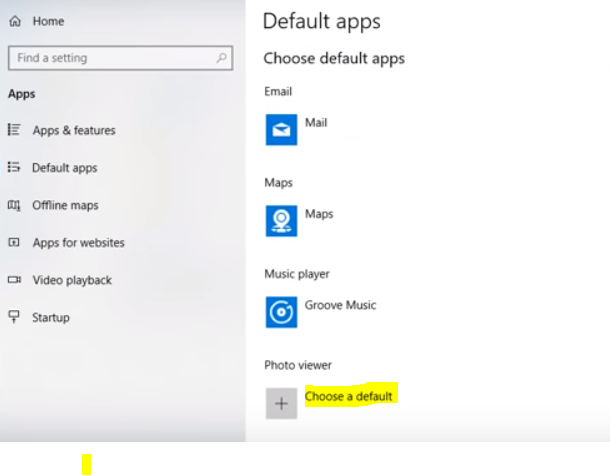
You will see that Windows Photo Viewer app is still showing in the set of options for the default Photo application. This is perfectly fine. As long as we are getting our job done through the Windows Photo Viewer, we won’t mind a minor anomaly.
You can test the restoration by opening a photo file directly by double-clicking it.
Key Points to Note
Windows Registry is a very critical area of your computer. Even though the instructions contained in this article have been thoroughly vetted, here are a couple of way outs for you if anything goes wrong during the process.
- Always create a backup of the Registry before making any changes to it. This way you can restore the previous version if anything goes wrong
- You can also set a System Restore Point before making any changes to the Registry Editor