
You are playing your favorite video game and suddenly the game crashes and gives you the dreaded Out of Video Memory error.
Many people would then proceed to evaluate the PC innards for a possible upgrade but before you even go that route, give a generous thought to the notion that the issue could be software related. Many times programs aren’t very efficient when it comes to memory issues and this leads to what is called a Memory Leak. What happens is that the program fails to release discarded memory back to the system which eventually leads to the program crashing. This crash forces you to completely reboot your computer.
In fact, for users that have the recommended physical Graphics Card memory for max operation of the game or program, the error could be quite misleading. When the program crashes and provides this error, the system is actually talking about virtual address space. As a result, changing settings for your Virtual Memory won’t help. Here are a few tips on how to solve this virtual address space and other fixes that could help.
Optimize Your Gaming Experience
RegInOut is a digitally signed, verified software
Apply the 3GB Switch
- Search for Command Prompt in the Start menu, right-click it and select Run as administrator.
- Now type in bcdedit /set IncreaseUserVa 3072 and press Enter to execute it.
- Restart the computer.
Be aware that this fix will reduce the space that the OS has access to. This could lead to more crashes in other instances. If you have a 32-bit version of Windows, this fix could help you avoid the error. Another way to handle this is to purchase the 64-bit version of Windows which should already recognize and allocate larger virtual address space for your programs.
Check for Program or Game Updates
Developers often provide much needed optimization of the software as it relates to specific hardware as well as other bugs and fixes to how the program runs. It is always a good idea to check for updates when problems and errors occur during the program’s runtime/ gameplay.
Check for Video Card Driver Updates
Nvidia will often optimize their video cards to work well with specific games (including new releases) in order to find ways to optimize the operation of their own hardware’s allocated memory. These optimizations could help your problematic program run smoother. Check the Nvidia website for your Graphics Card for any updates to the driver and install them. Nvidia also has a program that runs in the background of your computer known as Nvidia Experience. There should be an option there to search for an update and that’s about it to do the trick.
Use Nvidia Experience Optimization
Nvidia Experience software utilizes information from the Nvidia database to figure out what settings will render the video card to provide the best performance for your computer. If you don’t have the software click here. Once the installation is complete, the software will actually scan your computer for games that are installed. Click the Optimize button and it will automatically import the necessary settings to make your game run better.
Check for Unnecessary Background Programs
When you start your computer, there are a number of programs that automatically load up and remain running as you use your computer. Often times most of these programs are unnecessary and each of them takes up valuable RAM and/or VRAM. Sometimes the culprit is simply another program that you have opened on your own. For example, Google Chrome reportedly tends to eat up a large amount of memory as it runs. Here is how you can get rid of these programs.
- Press Control + Alt + Delete simultaneously to open up the Task Manager.
- Look at the Processes running and the amount of memory they have been allocated and make an educated decision as to which ones should be canceled. (Try Googling the process’s name so that you don’t shutdown any OS necessary programs).
Change Video Resolution for Program/Game
For many games, memory and stability issues can be avoided by reducing the graphical burden the game forces on the computer’s video resources. By reducing the video resolution and/or options, the game itself will request less video memory.
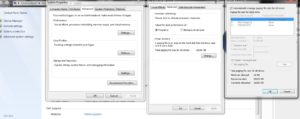
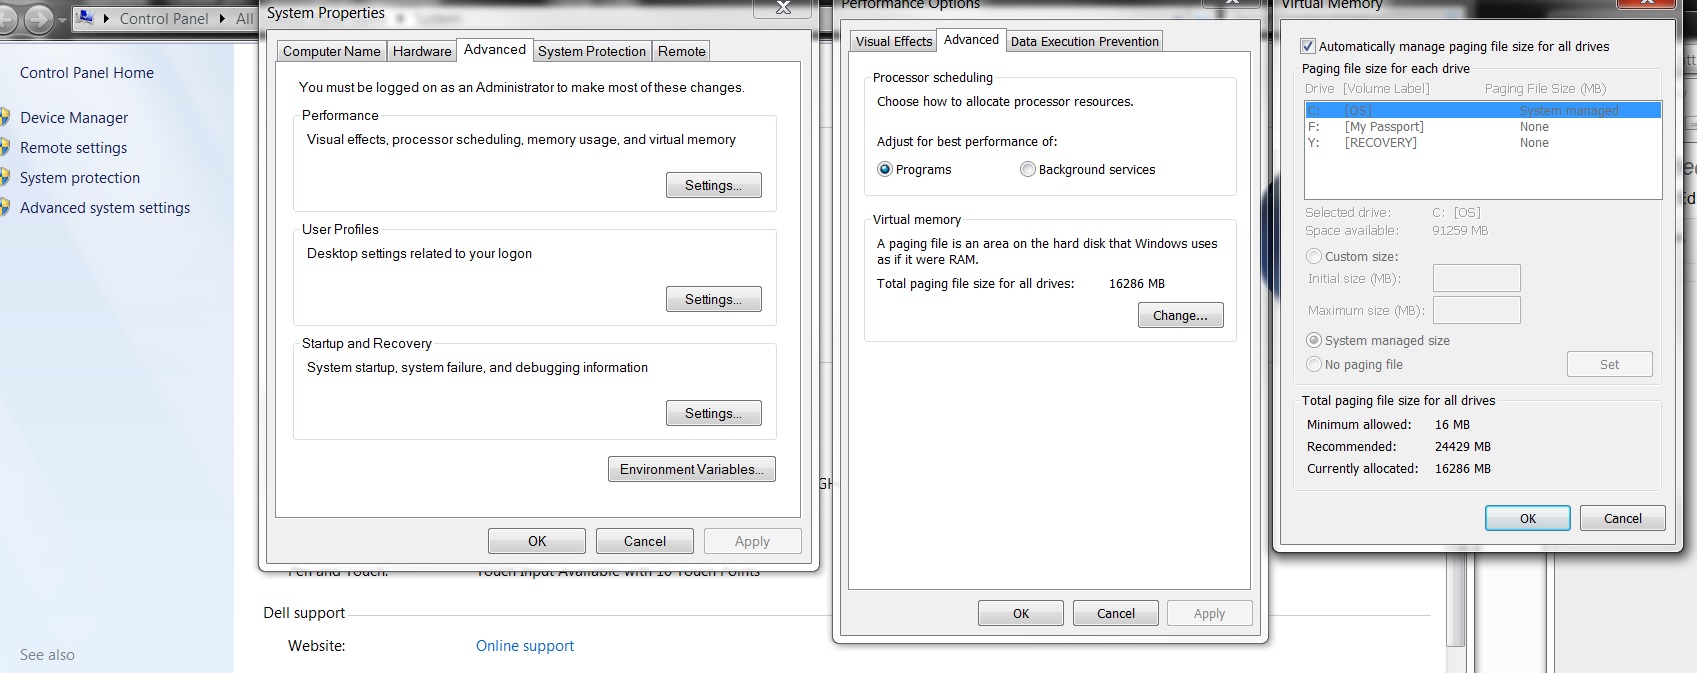
Change Paging File Settings for Game Drive
- Right-click This PC and open Properties.
- Select Advanced system settings on the left pane.
- Click the Advanced tab and now click Settings under the Performance category.
- Open the Advanced tab in the Performance Options window that just opened.
- Under the Virtual Memory category, click Change.
- Select your system drive and then select System managed size.
- Click Set.
- Now select the drive where you’ve installed the game on.
- Click No paging file.
- Click Set once again.
- Click OK | OK | OK.
Change the Paging File