
The next generation of Windows has finally been launched in June this year with many major new features such as rounded corners, re-branded Start Menu, multi-tasking Snap layouts, Android app support, new Microsoft Store, dark theme, and much more. While Windows 11 is expected to be released for the general public in the holiday season, it is currently available for download to only Windows Insider Preview users. If you’re interested in downloading Windows 11 Insider Preview as an ISO, there is no better way than downloading it through a transparent open-source utility called UUPDump. Downloading pirated ISO files from third-party websites can cost heavily. Pirated ISO files are more likely to infect your computer and any data stored on it with malware and network-controlled threats. Read on to find out how to safely download Windows 11 through the UUPDump way.
Why Choose Clean Install Over Upgrade?
Before we head on to the actual procedure, here are some benefits of choosing Clean Install over Windows 11 Upgrade option:
- Upgrade Retains Corrupted Configuration & Settings: Upgrading does not erase your system settings, applications and their data. If your computer runs terribly slow, freezes a lot or shows BSOD, you’d continue to experience the same issues even after upgrading your operating system.
- Degraded Experience After Upgrade: A clean installed machine runs faster as if it was bought today. Whereas an upgraded machine retains the old performance and stability and causes degraded experience to the user. Due to higher system requirements in Windows 11, your system can run more slower than it was before.
- Upgrade can Transmit Existing Viruses and Malware: Let’s say your computer is infected by a virus or malware. Upgrading your computer from Windows 10 to Windows 11 will transmit the old malware to your new operating system. Your system will continue to remain infected by the malware and expose your machine and any data stored on it to new threats.
Benefits of Choosing Upgrade Over Clean Install?
Now, let’s discuss the benefits of choosing Upgrade over Clean Install of Windows 11:
- Upgrade Retains your Settings, Programs & Documents: The single most important benefit of upgrading is that it retains all of your system configurations, installed applications, documents and other data. Your data will not be erased and you can quickly start from where you left before the upgrade.
- Clean Install Erases your Data: Clean installation requires re-formatting the entire drive which erases all of your data including any installed programs, system and application settings, documents, and other files. If you fail to backup your files to another partition or media, you would lose it forever.
- Failed or Incomplete Installation can be a Nightmare: At times, clean installation can get stuck when the original installation media becomes corrupt and Windows fails to copy the required files. There are also hardware-specific reasons which could trigger installation issues and your computer may be stuck in the middle of the installation, or it’ll just be stuck in a reboot loop.
- Clean Install Requires More Expertise: Clean installation requires more expertise to burn the Windows ISO on to a USB flash drive, set up the primary boot device, etc. Moreover, with the introduction of Windows 11, you’re also required to enable the Secure Boot and TPM 2.0 security features from the BIOS. The actual procedure to enable these features changes from computer to computer. Many people complain their computers fail to boot after switching to the Secure Boot and they were required to either disable this feature or they had to format and re-partition the entire hard disk to make it work. Unfortunately, this can result in massive data loss, if no backups were taken before. All of this requires a considerable amount of time and technical expertise.
- Clean Install Requires Maximum Human Interaction: When you upgrade to Windows 11, you’re not required to sit back and follow every procedure. Once you start the upgrade, Windows will automatically perform the requested task on its own, and there’s nothing much you need to do. On the contrary, when you install Windows 11 from scratch, you will need to follow every procedure starting from burning an ISO file to setting up your user account on your own.
- No Official ISO Available for Windows 11 Insider Preview: As of writing now, Windows 11 Insider Preview is only available for those users who have joined the official Microsoft’s Insider Preview program. It includes hardware manufacturers, developers, tech enthusiasts, tech journalists and almost anyone who wishes to try the new, polished operating system which is still under development and tasting phase. The Insider program is primarily to test the new version for various compatibility and other issues, and provide feedback to the techno-giant. At this moment, no ISO file is officially available for download. Upgrading is the only recommended option, which is why Microsoft may not provide you any support for the clean installation (should you face any issues).
- Ability to Revert to an Earlier Version: When you choose the Upgrade option, Windows backups your current installation and gives you an option to go back to the previous version. If you’re unhappy with your experience with Windows 11, or some of your programs don’t support the new version, you can simply reset your computer from the system settings and Windows will revert you to your previous Windows 10.
How to Download the Windows 11 Insider Preview as an ISO
Step 1: Check the Compatibility
Does your computer support Windows 11? This is the first thing you need to check before downloading the installation files and starting the actual installation.
Following the Windows 11 launch on June 24, 2021, Microsoft released a compatibility checker application Windows PC Health Checker for Windows 11. However, Microsoft pulled it back after it fell short of clarifications as to which hardware components were supported and which were not and the growing controversy about it. Although Microsoft has promised to re-launch a new application with more in-depth information, there is no specific date mentioned on the website. Therefore, it’s safe to rely on some popular third-party open source applications like WhyNotWin11.
- Download WhyNotWin11 from Github.
- Open the downloaded program.
- WhyNotWin11 will automatically collect information about your computer’s hardware and system configurations and provide you results based on the currently known supported configurations.

Important: It’s important to update this utility time-to-time for most accurate results. You can update it by clicking the Check for Updates option on the bottom left.
Step 2: Build an ISO File
You can build an ISO file using the open-source scripts provided by the developers at UUPDump.
- Open https://uupdump.net/
- Click on the x64 bit architecture option ahead of the Latest Dev Channel Build.

- Click the latest build available. As of writing now, the latest available build was Cumulative Update for Windows 11 (10.0.22000.120)

- Select your language. For example, English (United States)
- Click on Next.

- Select the Windows edition you wish to download. We selected Windows Home and Windows Pro. (Please scroll down below and read the Important Note first)

- In the next page, select the Download and convert to ISO option.
- Click on Create Download Package.

- A small Zip file will be downloaded to your PC.
- Open the downloaded Zip file using a free 7 Zip File Manager and extract its contents to a new folder “Win11” on your Desktop.
- Right-click the uup_download_windows.cmd file and select Run as Administrator.

- Microsoft Defender SmartScreen will display a warning notification. Click on Run anyway.
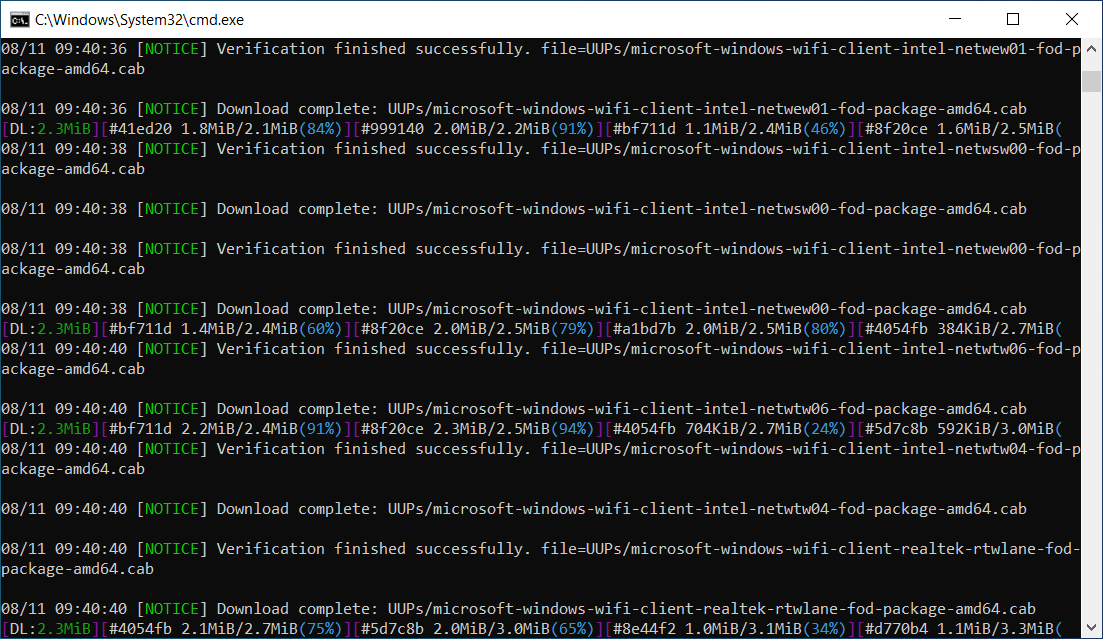
- Command Prompt will automatically download Windows 11 for you and build an ISO file. This process may take longer, perhaps several hours, depending on your Internet connection speed and hardware configurations. Keep in mind, Command Prompt will change the background color several times. That’s normal.

- Once the downloading finishes, press 0 to quit the Command Prompt window and you’ll find your Windows 11 ISO file into the extracted folder (in our case “Win11”).
Important: If you have a license for Windows 10 Home, you must install Windows 11 Home. You may not be able to activate the Windows 11 Pro edition using the same license key once Windows 11 becomes available for the general public. It is recommended that you select the current edition only to avoid licensing issues later. To identify which edition of Windows you’re currently using, right-click on This PC icon on your Desktop and select Properties. You’ll be able to view your Edition under the Windows Specifications category.
Step 3: Create a Bootable Installation Media
The next thing you need to do is create a bootable Windows 11 installation media. Make sure that you have an empty USB Stick with at least 8 GB of storage.
- Connect your empty USB stick to your computer.
- Download a free ISO to USB Stick burner Rufus and run it. (Make sure to choose the Portable version for download)
- In the Device drop-down box, select your USB Stick.
- In the Boot Selection drop-down box, select Disk or ISO image option.
- Click on the Select button ahead of the Boot selection.
- Select the ISO file you’ve downloaded.

- In the Boot Selection drop-down box, select the GPT option. (Windows 11 will NOT install if you use the MBR option which requires the Safe Boot feature to be disabled)
- Click on Start and wait until it finishes the process.
Step 4: Activate Secure Boot and TPM 2.0
Secure Boot and TPM are one of the major new requirements of Windows 11. These security features protect your computer against malicious software, untrusted bootloaders and firmware.
For Dell Laptops:
- Restart your computer and press F2 key repeatedly as soon as you see the Dell logo.
- Go to the Security tab using your keyboard arrow keys.
- Expand the Security tab and you’ll see the TPM Security option if your computer supports this feature.
- Turn on the TPM feature.
- Click on the Apply button.
- In the left hand side panel, select the Secure Boot option and expand it.
- Select Secure Boot Enable.
- Set the flag to Enabled.
- Click on the Apply button again.
- Go to Boot Settings > UEFI Boot Settings and set the USB Flash Drive as your first boot device and your Internal Hard Disk as the second boot device.
- Click on Apply, and then Exit.
Step 5: Install Windows 11
The installation process is fairly simple.
- Restart your computer and press any key when you’re prompted to do so.
- Select your desired language, click Next.
- Click on I don’t have a product key, unless you’ve a valid key to enter.
- Click on Next.
- Carefully read and check “I accept…” if you agree.
- Click on Next.
- In the new page, select Custom: Install Windows only (advanced) option.
- Select the partition where you would like to install Windows 11.
- Click on Next.
- Choose your country and click on Yes.
- Enter a name for your PC and click on Next.
- If you’re using the Home edition, signing in with a Microsoft account is a must. Enter your Outlook email address, click on Next and enter your credentials.
- You’ll also be prompted to create an easy to guess PIN for better logging experience.
- Click on Set up as a new device and then click on Next.
- Keep the default privacy settings, as they are and click Next.
- Specify your interests (gaming, creativity, family or schoolwork) and click on Next.
- Select Automatically store my files in OneDrive and click on Next.
- Wait for a while as Windows sets up your computer.
That’s it, Windows 11 is now all yours.