
Adobe creative cloud application bundle consists of many intuitive applications ranging from Dreamweaver for web development to Flash for 2D animations, Premiere for video editing, Illustrator for vector graphics, and the list goes on.
It is basically a collection of sophisticated software programs for people from different fields of life and it helps them accomplish their tasks meticulously. This tutorial sheds light on the bundle’s video editing application, known as Adobe Premiere, and it explains how to get this particular lagging issue fixed in a convenient way. You can safely use ST Cleaner to remove PC junk. This holistic PC maintenance exercise can speed up Adobe performance. Download it here:
![]()
ST Cleaner follows Google Software Principles
Solutions
Solution 1: Install The Driver
Adobe creative cloud software is known to be powered by the hardware accelerator due to the abundant power the GPU can produce as and when required, unlike the CPU which is quite weak for processing anything related to graphics. But the Graphics Card must be up-to-date at all times in order to be well equipped to handle any recent developments in the field of graphics. Updates help it to work at its full potential, resulting in the resolution of several issues including the notorious lagging.
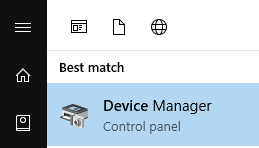
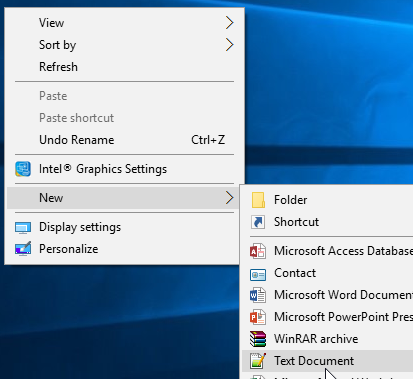
- Open up the start menu.

- Search for Device Manager and then open it from the Search Results.
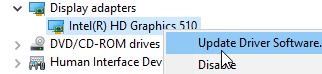
Open up Device Manager - Locate Display adapters, and then click to collapse it to retrieve the list of display adapters available.

- Right-click the currently active display adapter and then select Update Driver Software. (Note that for laptops there can be multiple display adapters and so you must update ALL the adapters).

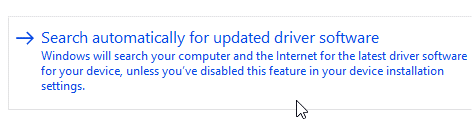
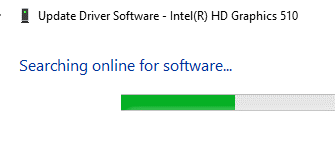
Selecting to update the driver - Select Search automatically for updated driver software option to initiate the scan for latest drivers from Microsoft servers. These drivers are highly stable as they are coming straight from the operating system developer, hence they are most reliable ones. Also, this process might drench your internet bandwidth for a while and so it is advisable to completely pause all internet related activity while the driver is being updated.


Solution 2: Turn on CUDA / OpenCL
CUDA and OpenCL are technologies that are employed by Nvidia and AMD respectively to boost up the applications that are based on their API (Application Programming Interface). Enabling the relevant one (depending on the Graphics Card) can not only boost the overall performance of the application but also reduce the response time and hence the lags.
- Open Adobe Premiere Software from the start menu.
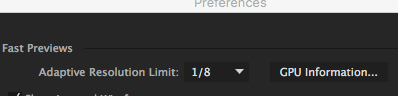
- Go to Edit → Preferences → Previews. (Only applicable in CC series).

- In the Preferences window, locate GPU Information and click it.
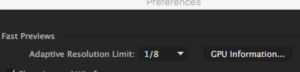
Click on GPU Information - Now look for Ray-tracing and select GPU from the drop-down menu.

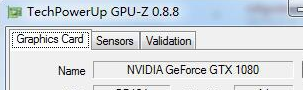
- Download and install GPU-Z from the following location to find out the exact name of the graphics card.
https://www.techpowerup.com/downloads/SysInfo/GPU-Z/

- Make sure it has either CUDA enabled in the bottom of the window (for Nvidia) or OpenCL if your system uses an AMD card. If none of these options shows up, make sure you have followed the first solution and downloaded the latest drivers.

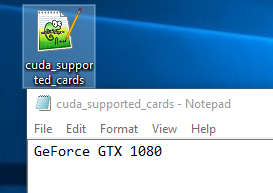
Either of these must be selected from before - Create a Notepad file on the desktop and name it as cuda_supported_cards.txt.

Creating the Notepad file - Type the currently active Graphics Card’s name in it as shown in the GPU-Z interface.
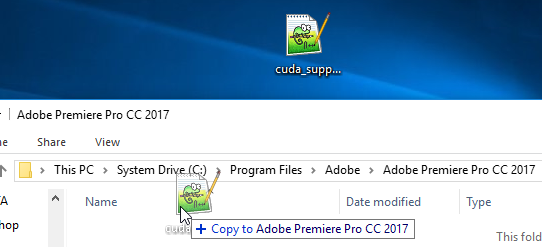
Type in the currently active Graphics Card’s name - Save and then move the Notepad file to the location where Adobe Premiere has been installed.

- In the Premiere Pro interface, go to File → Project Settings → General. Now enable the relevant option (depending on which Graphics Card you use). Be sure NOT to enable the Mercury Playback Engine Software Only option.

Selecting the correct option
